
Total Rookie 'Reckage
The last few days we've been showing you the action from a recent MLW match pitting rookie Athena against ring veteran and former-WWE star Jazz. After a brief opening barrage—where she foolishly used a couple of illegal tactics against her opponent—Athena had the tables turned on her. Now Jazz was no longer in a mood to just win the match...she wanted to teach Athena a lesson that she would never forget!
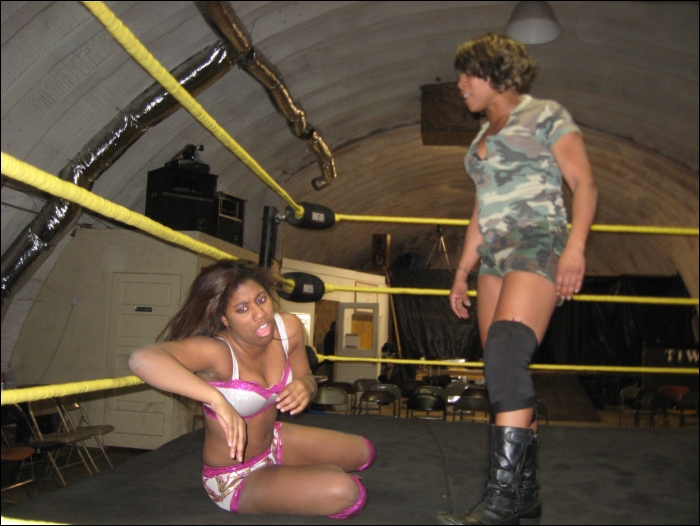
As we saw in yesterday's series of pictures, Jazz employed a very effective attack on her younger opponent's legs. The good news was that Athena survived the crippling assault...barely. The bad news? Athena was still in the ring with her enraged enemy and the match was far from over!
The next minutes of the match must have seemed like an eternity to Athena. The poor rookie was choked with the ropes and Jazz's boot. Then she was almost paralyzed with one of the most painful looking nerve claws that we've ever seen. But even as the referee raised the KO'ed wrestler's arm to see if she was even still conscious, Jazz was contemplating what further punishment she could administer. Still ahead for the already battered Athena was a big bodyslam and crunching leg drop. Perhaps most humiliating of all for the rookie was having Jazz pose over her in victory as she wiped the bottom of her boot across her pretty face. By that time, Athena was out cold...and maybe that was a good thing.
We have a feeling that Athena will think twice before trying to use any illegal tactics in the ring the next time she faces Jazz!
Photo:
Brian Reese
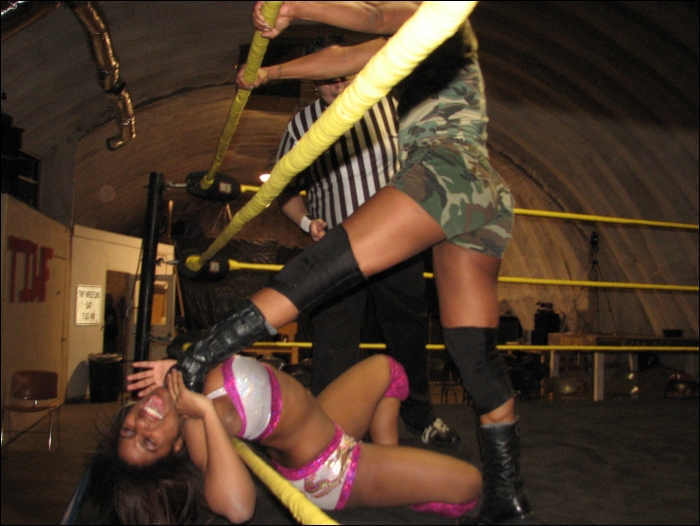
Photo:
Brian Reese
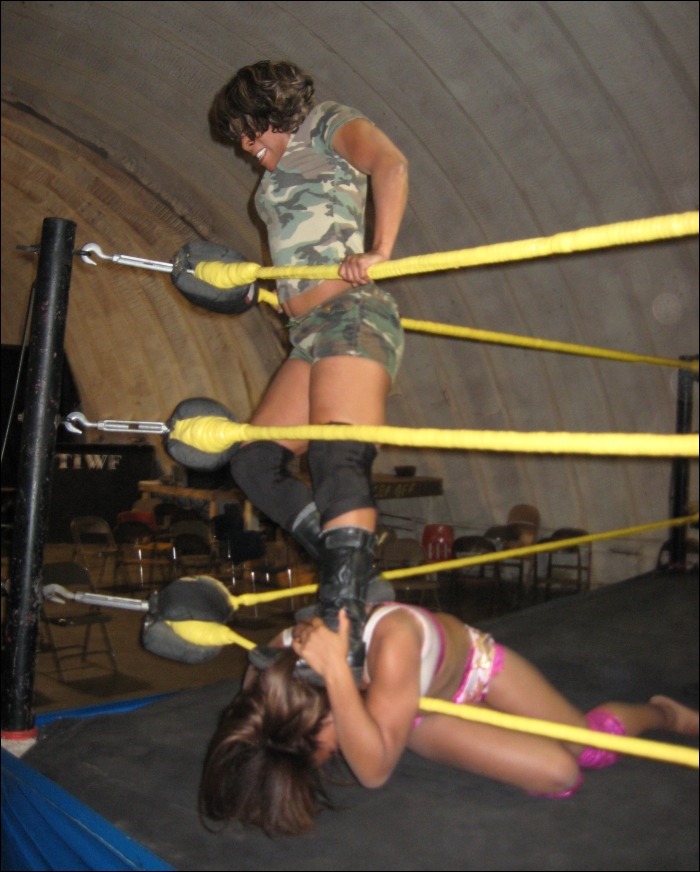
Photo:
Brian Reese
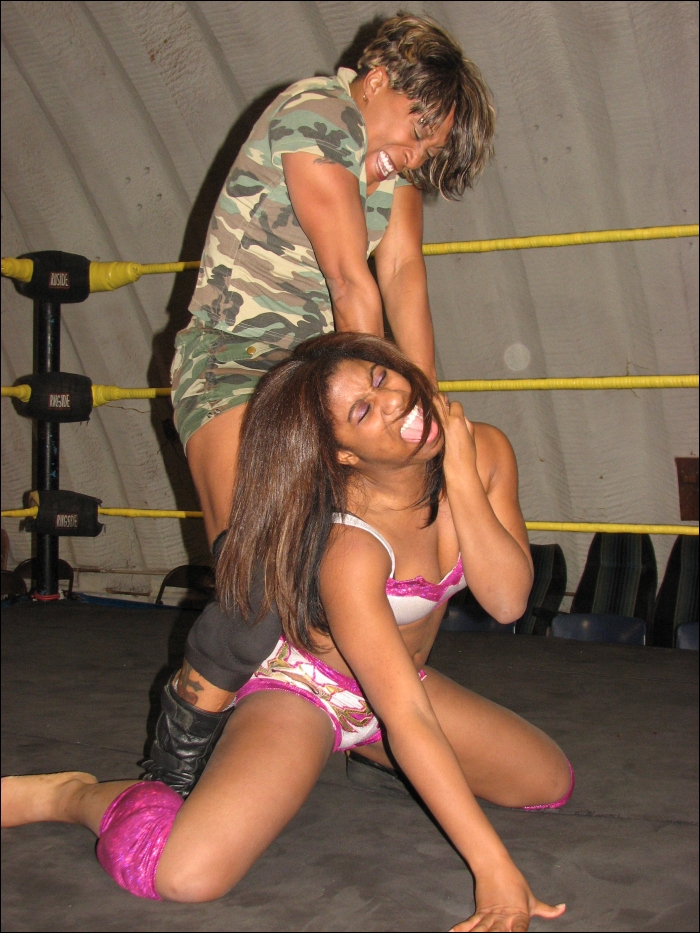
Photo:
Brian Reese
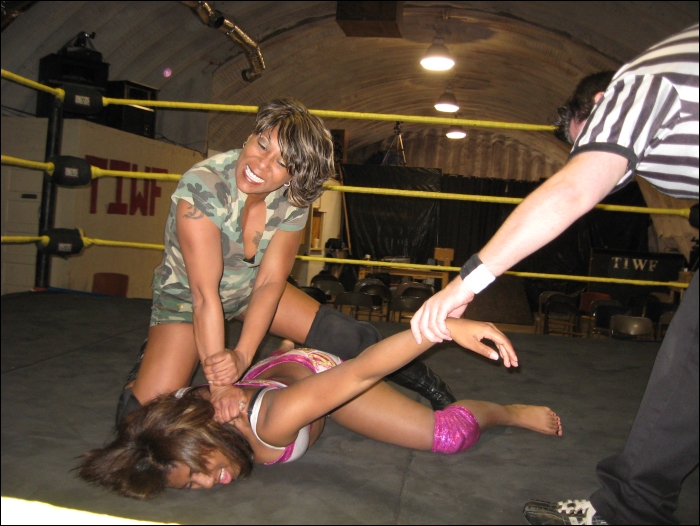
Photo:
Brian Reese
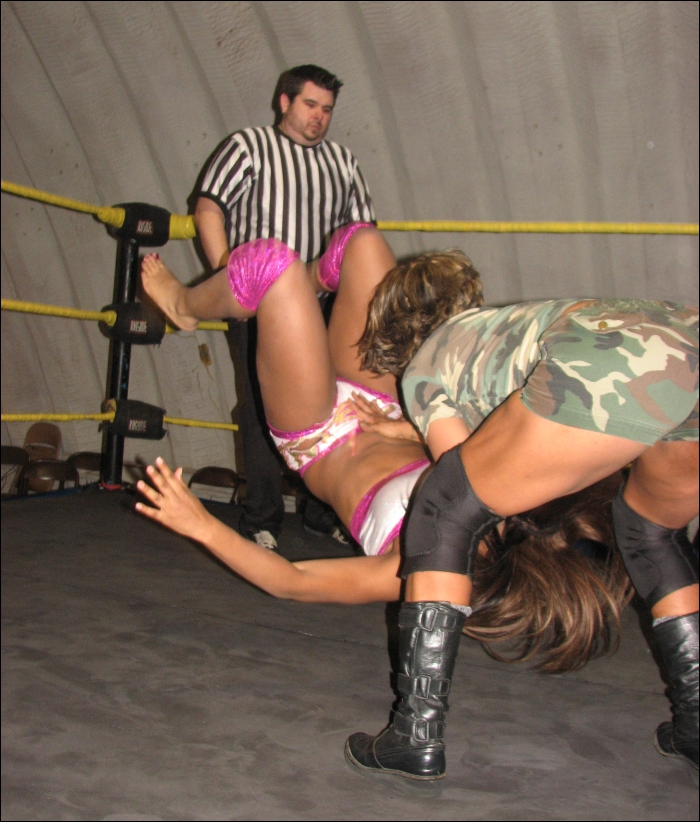
Photo:
Brian Reese
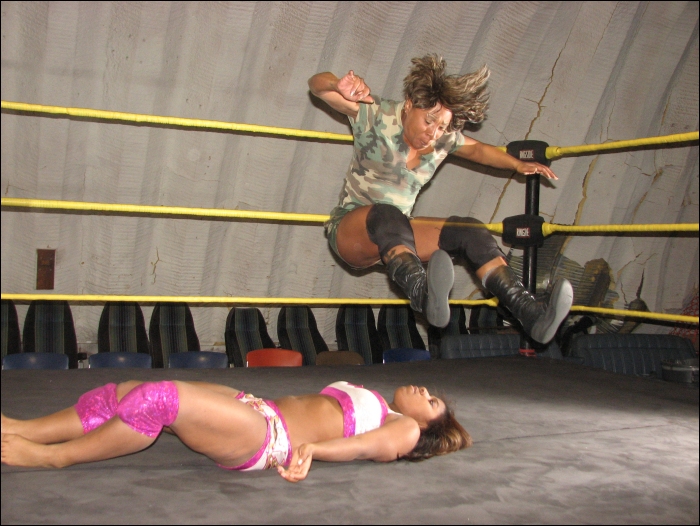
Photo:
Brian Reese

Photo:
Brian Reese
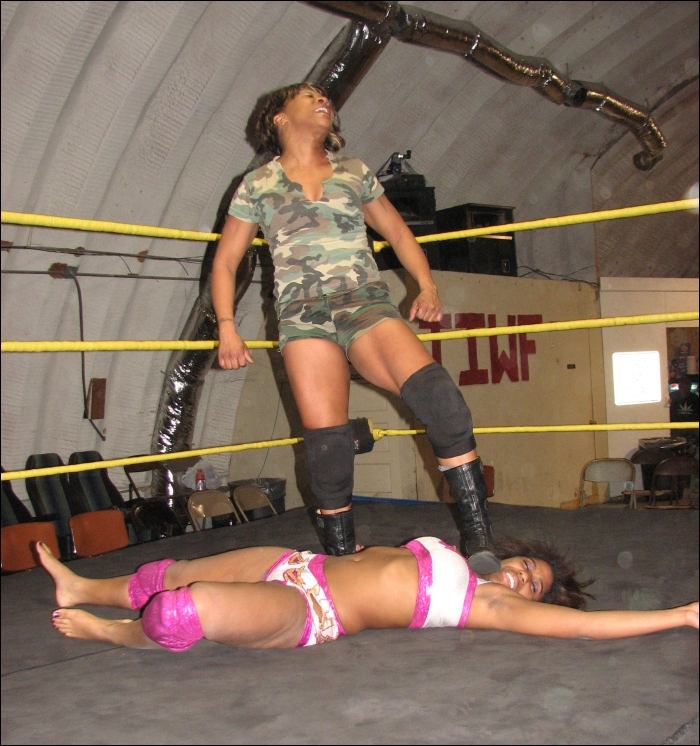
Photo:
Brian Reese